
SurfSense is moving to a local app
Moving your data
Five steps to the desktop app
- 01
Export your cloud data
Save the ZIP somewhere you will find it again. You need it in step five.
The ZIP holds every workspace you can access: ready documents as markdown, the folder structure, and your chat threads. It does not carry original uploads, generated artifacts, tool calls, agent steps or live citation links.
- 02
Download the desktop app
An installer for Windows, macOS or Linux. There is no account to create, and it runs on your own machine.
- 03
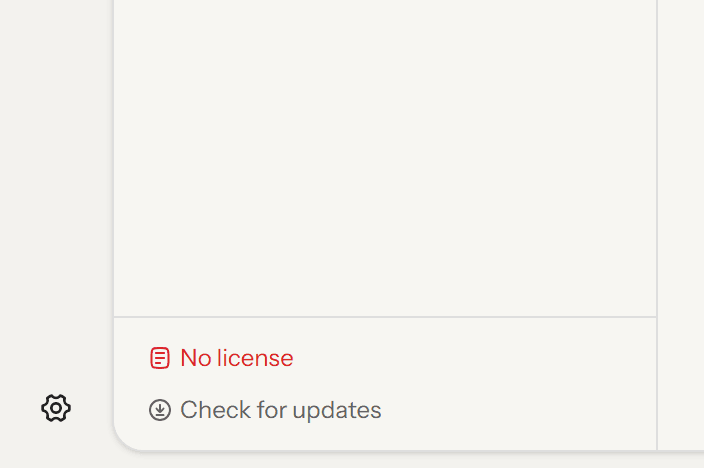
Open Settings in the app
Install and open it, then click the gear at the bottom of the left rail.
- 04
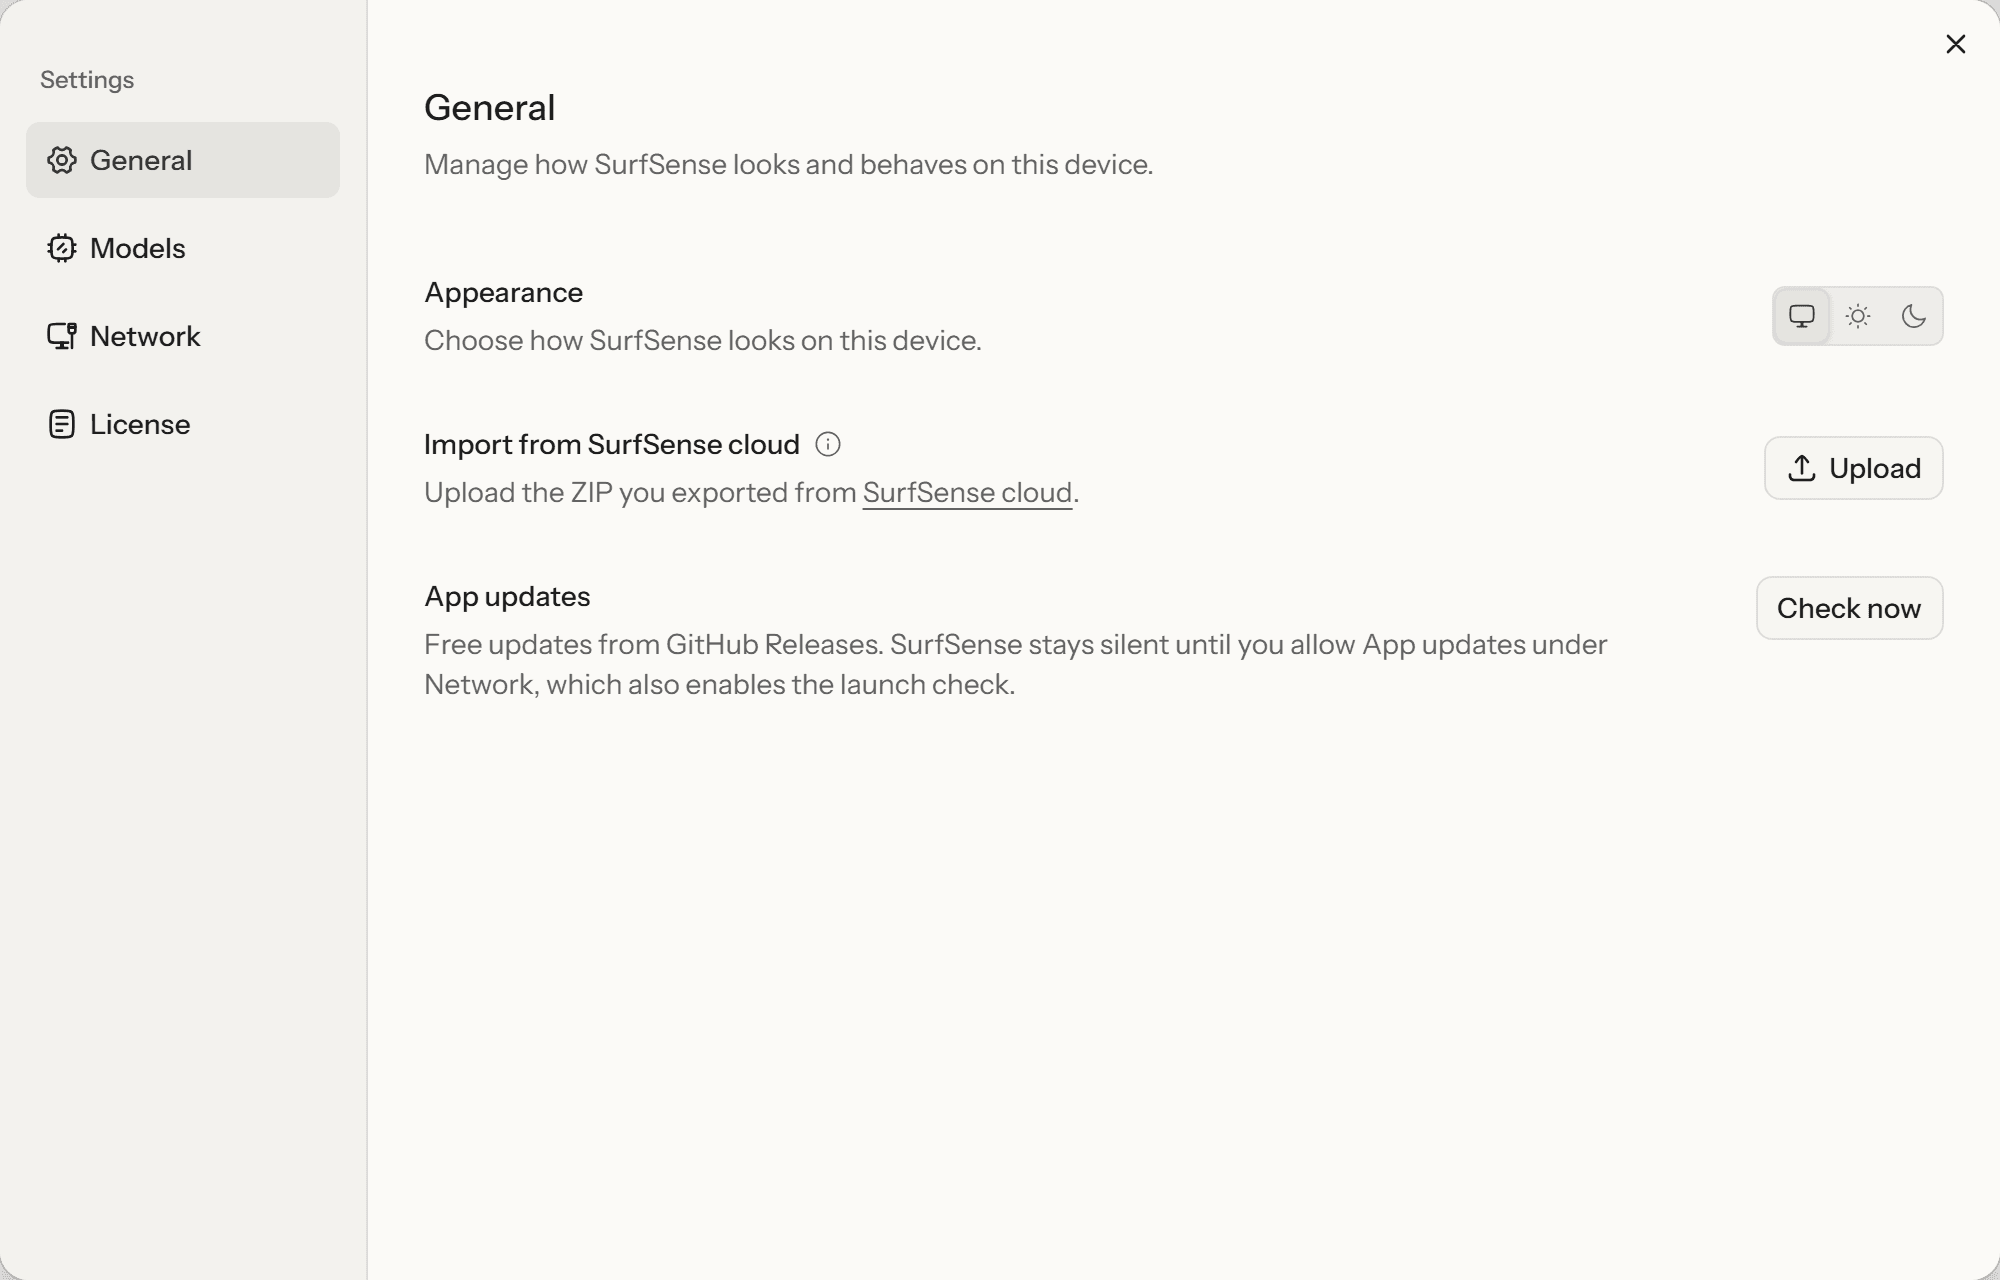
Find the import row in General
Settings opens on General. The row you want is "Import from SurfSense cloud", under Appearance.
- 05
Upload the ZIP
Click Upload and pick the ZIP. Your workspaces, folders and chat threads come across, and the app indexes the documents on your machine afterwards.

A fresh install shows the same Upload button on its empty workspace screen, so you can import before you do anything else. If something did not come across, tell us.